.jpg;width=70;height=70;mode=crop)
Share
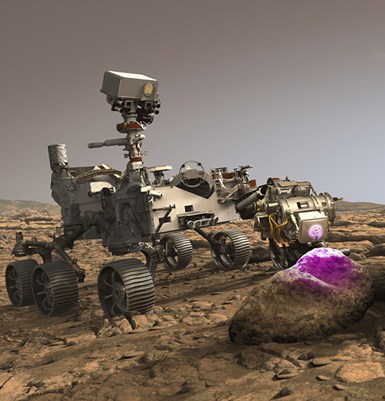
The instrument shown in use in this artist’s rendering is the PIXL, an X-ray lithochemistry device that will analyze rock samples on Mars. Photo Credit for this image and above: NASA/JPL-Caltech
When the Perseverance rover touches down on Mars on February 18, it will carry with it almost a dozen metal 3D printed parts. Five of those parts will be found in an device critical to the rover’s mission: the Planetary Instrument for X-ray Lithochemistry, or PIXL. Mounted at the end of the rover’s cantilever arm, the PIXL will analyze rock and soil samples on the Red Planet’s surface to help assess the potential for life there.
The 3D printed parts of the PIXL are its front and back cover, mounting frame, X-ray bench, and bench support. At first glance, they look like relatively simple parts, a few thin-walled housing pieces and brackets that might be made from formed sheet metal. But the stringent requirements of this instrument (and the rover in general) proved to be a match for additive manufacturing (AM) paired with extensive postprocessing steps.
Featured Content


Function First
Engineers at NASA’s Jet Propulsion Laboratory (JPL) did not set out to create parts suitable for 3D printing when they designed the PIXL. Instead, they were fully concerned with functionality and developing an instrument that could do the job, while adhering to a strict “mass budget.” The PIXL’s allotted weight was just about 16 pounds; exceeding this budget would either cause this device or another experiment to be “bumped” off the rover.
Although the parts may look simple, they have been designed with this weight restriction in mind. The X-ray bench, support and mounting frame all feature hollow box beam structures to avoid carrying any extra weight or material, and the housing covers have thin walls with contours to more closely enclose the instrument.

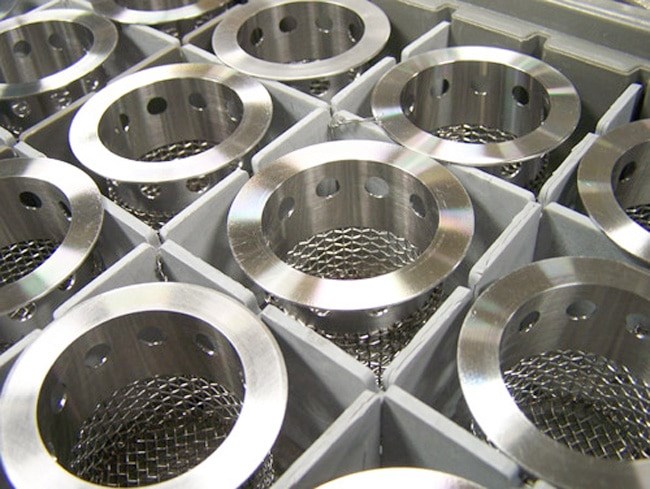
The five 3D printed parts of the PIXL may look like simple brackets and housing components, but a strict mass budget necessitated very thin walls and hollow box beam structures for these parts that ruled out conventional manufacturing processes for making them. Image Credit: Carpenter Additive
To build the lightweight, durable housing components, NASA turned to Carpenter Additive, a supplier of metal powder and 3D printing production services. With very little leeway to change or modify the design of these lightweight parts, Carpenter Additive selected electron beam melting (EBM) as the best manufacturing method. This metal 3D printing process was able to produce the hollow box beams, thin walls and other feature as stipulated by NASA’s design; however, 3D printing was only the first step in the production process.
Additive Manufacturing + Postprocessing
Electron beam melting is a powder fusion process that uses an electron beam as an energy source to selectively melt together metal powder. The entire machine is preheated and the printing process takes place at these elevated temperatures, essentially heat treating parts as they are printed and semi-sintering the surrounding powder.
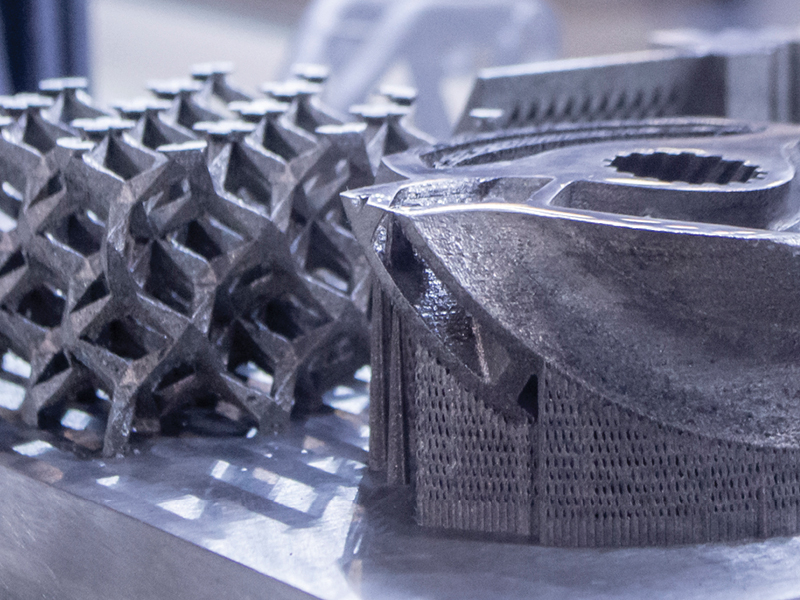
EBM creates a coarser surface finish and thicker features than the similar direct metal laser sintering (DMLS) process, but it also has the advantages of reducing the need for support structures and avoiding the thermal stresses that can be problematic in laser-based processes. The PIXL parts emerged from the EBM process slightly oversized, with rough surfaces, and trapped cakes of powder inside their hollow geometries.

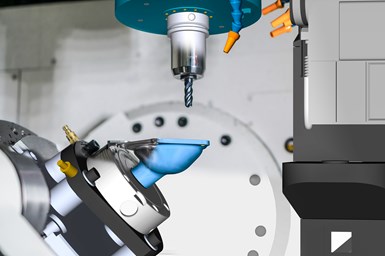
Electron beam melting (EBM) was able to deliver the complicated form of the PIXL parts, but a range of postprocessing steps was necessary to complete them. Image Credit: Carpenter Additive
As summarized above, a series of postprocessing steps was necessary to bring the PIXL components to their final dimensions, surface finish and weight. Both mechanical and chemical methods were used to remove the trapped powder and smooth the surfaces. Inspection between every process step ensured quality all the way through. The final components came in just 22 g above the mass budget, still within the allowable limits.
For more detail on how these parts were manufactured (including the scale factors involved in 3D printing, design of temporary and permanent support structures, and details of powder removal) see this case study and watch the latest episode of The Cool Parts Show to learn why this is an unusual production story for 3D printing.
RELATED CONTENT
-
Examining Productivity Gains Set to Transform Additive Manufacturing
Additive manufacturing is in its second hype cycle, with companies weighing its endless design capabilities against cost and production output.
-
Does Metal Additive Manufacturing Belong in a Machine Shop? The Answer Is Mixed
Machining is a necessary capability for metal part production through 3D printing, but succeeding with metal AM demands a role and procedures much different from those of many machining providers.
-
Go Digital: How to Succeed in the Fourth Industrial Revolution With Additive Manufacturing
The digitalization of manufacturing is set to transform production and global supply chains as we know them, and additive manufacturing has been leading the way in many industries.

 (1).1676494398075.png)